This article describes how to add a Sync Panel to a Salesforce object.
Note: The Exalate Sync Panel for Salesforce is only provided if you have downloaded the Exalate Bridge App from Salesforce AppExchange and installed it on your Salesforce organization.
Add the Sync Panel to a Salesforce object.
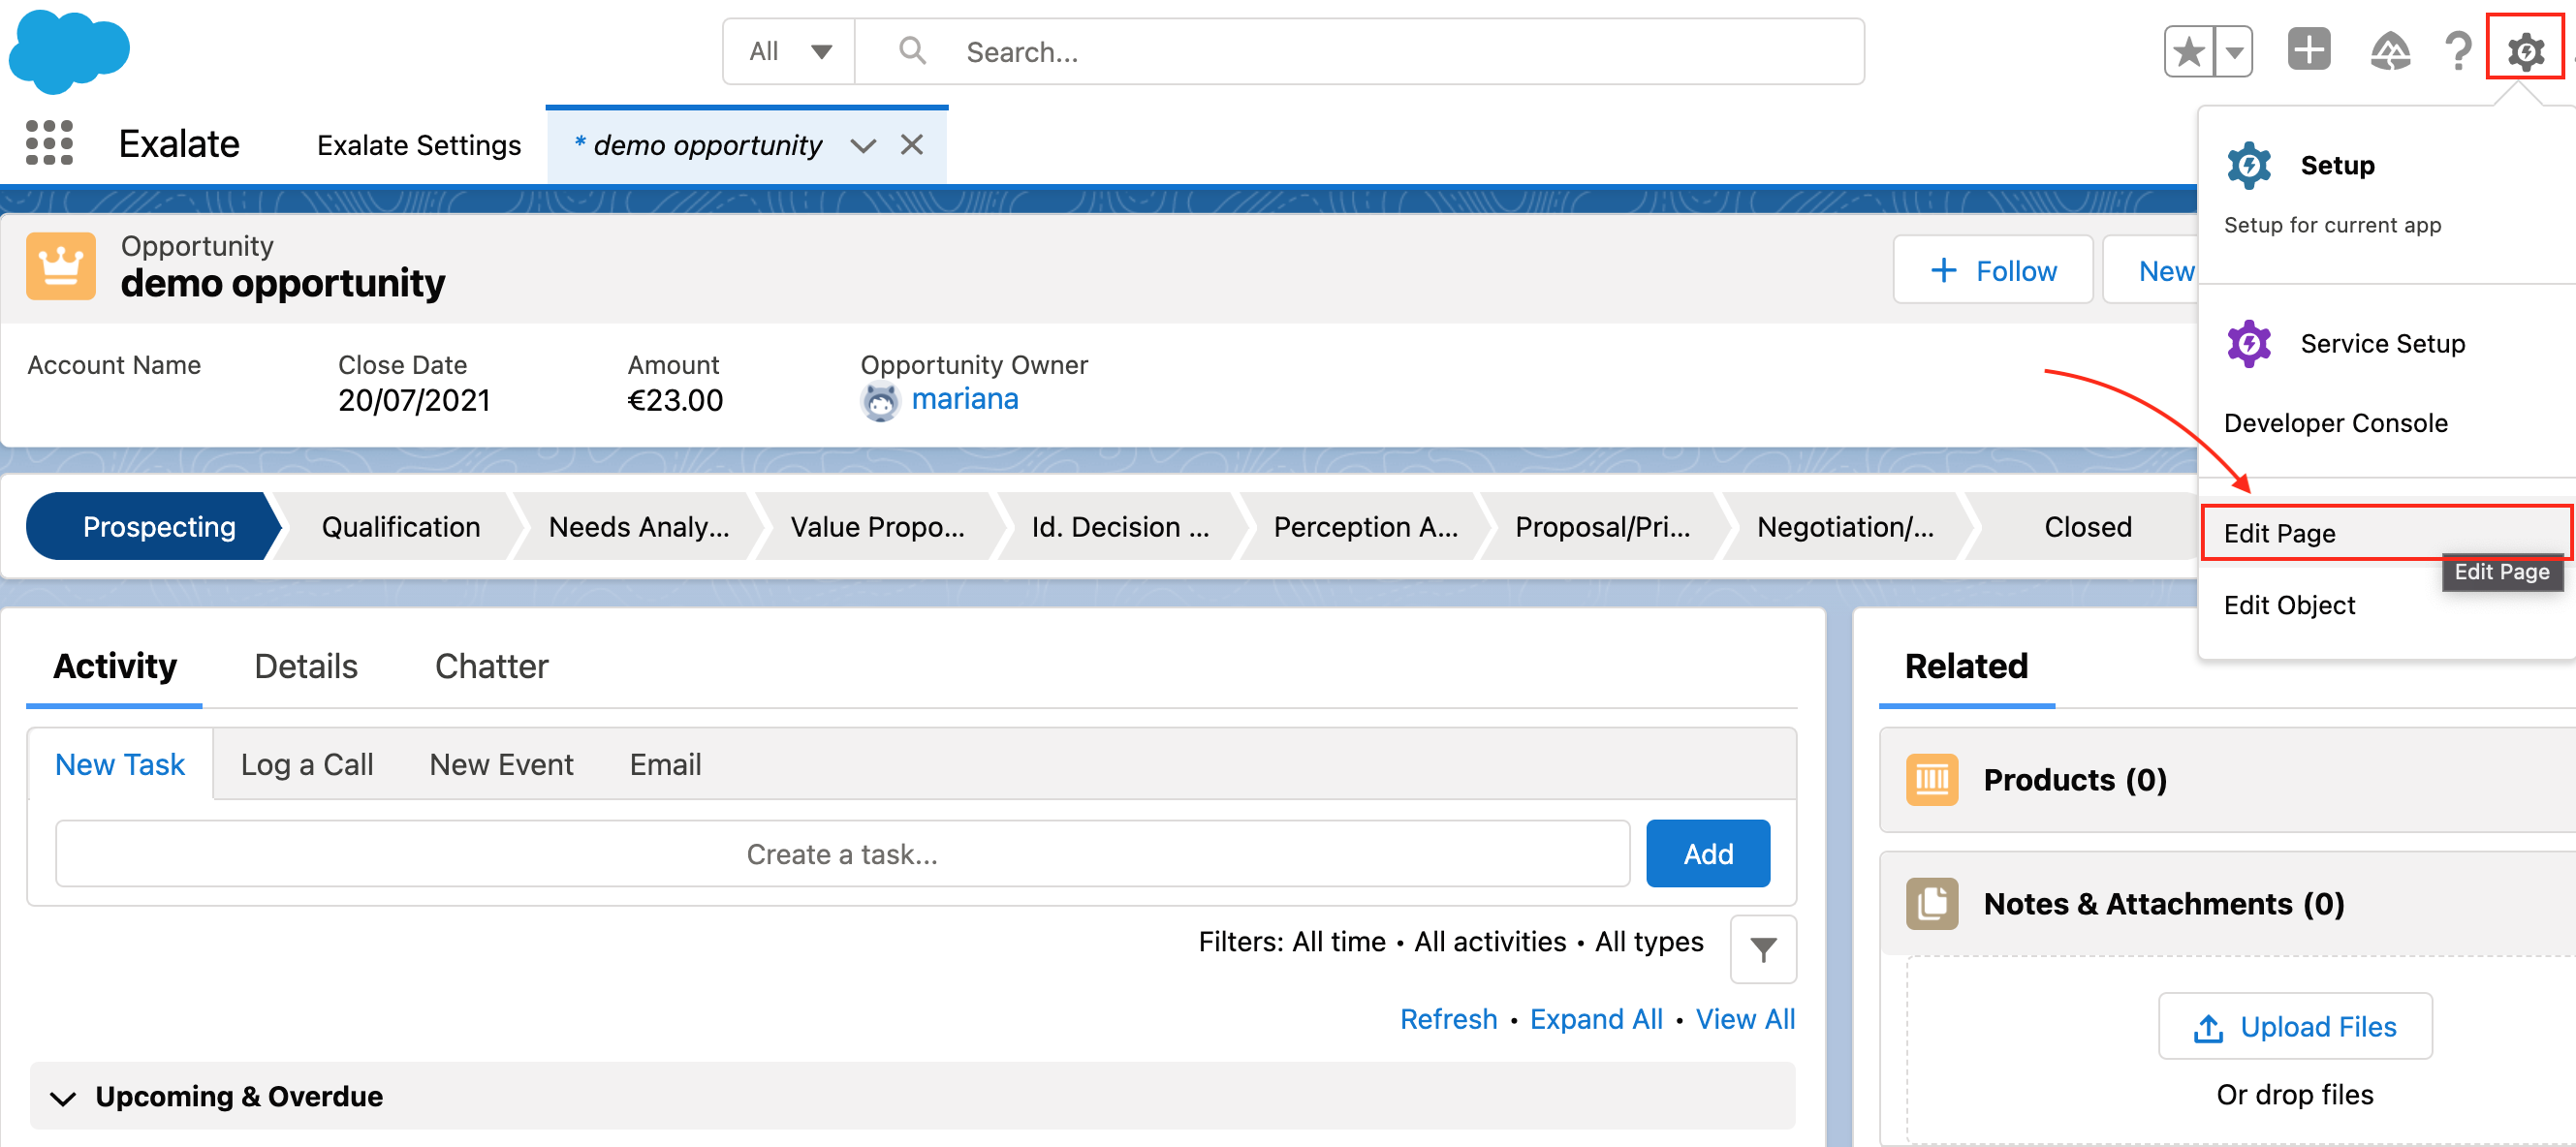
1. Create a new object or open an existing one
2. Click Setup icon -> Edit page
You will be redirected to the Lighting App builder where you can manage the look of the certain object page by adding or removing components.
3. Click + to add a Sync panel to the selected area
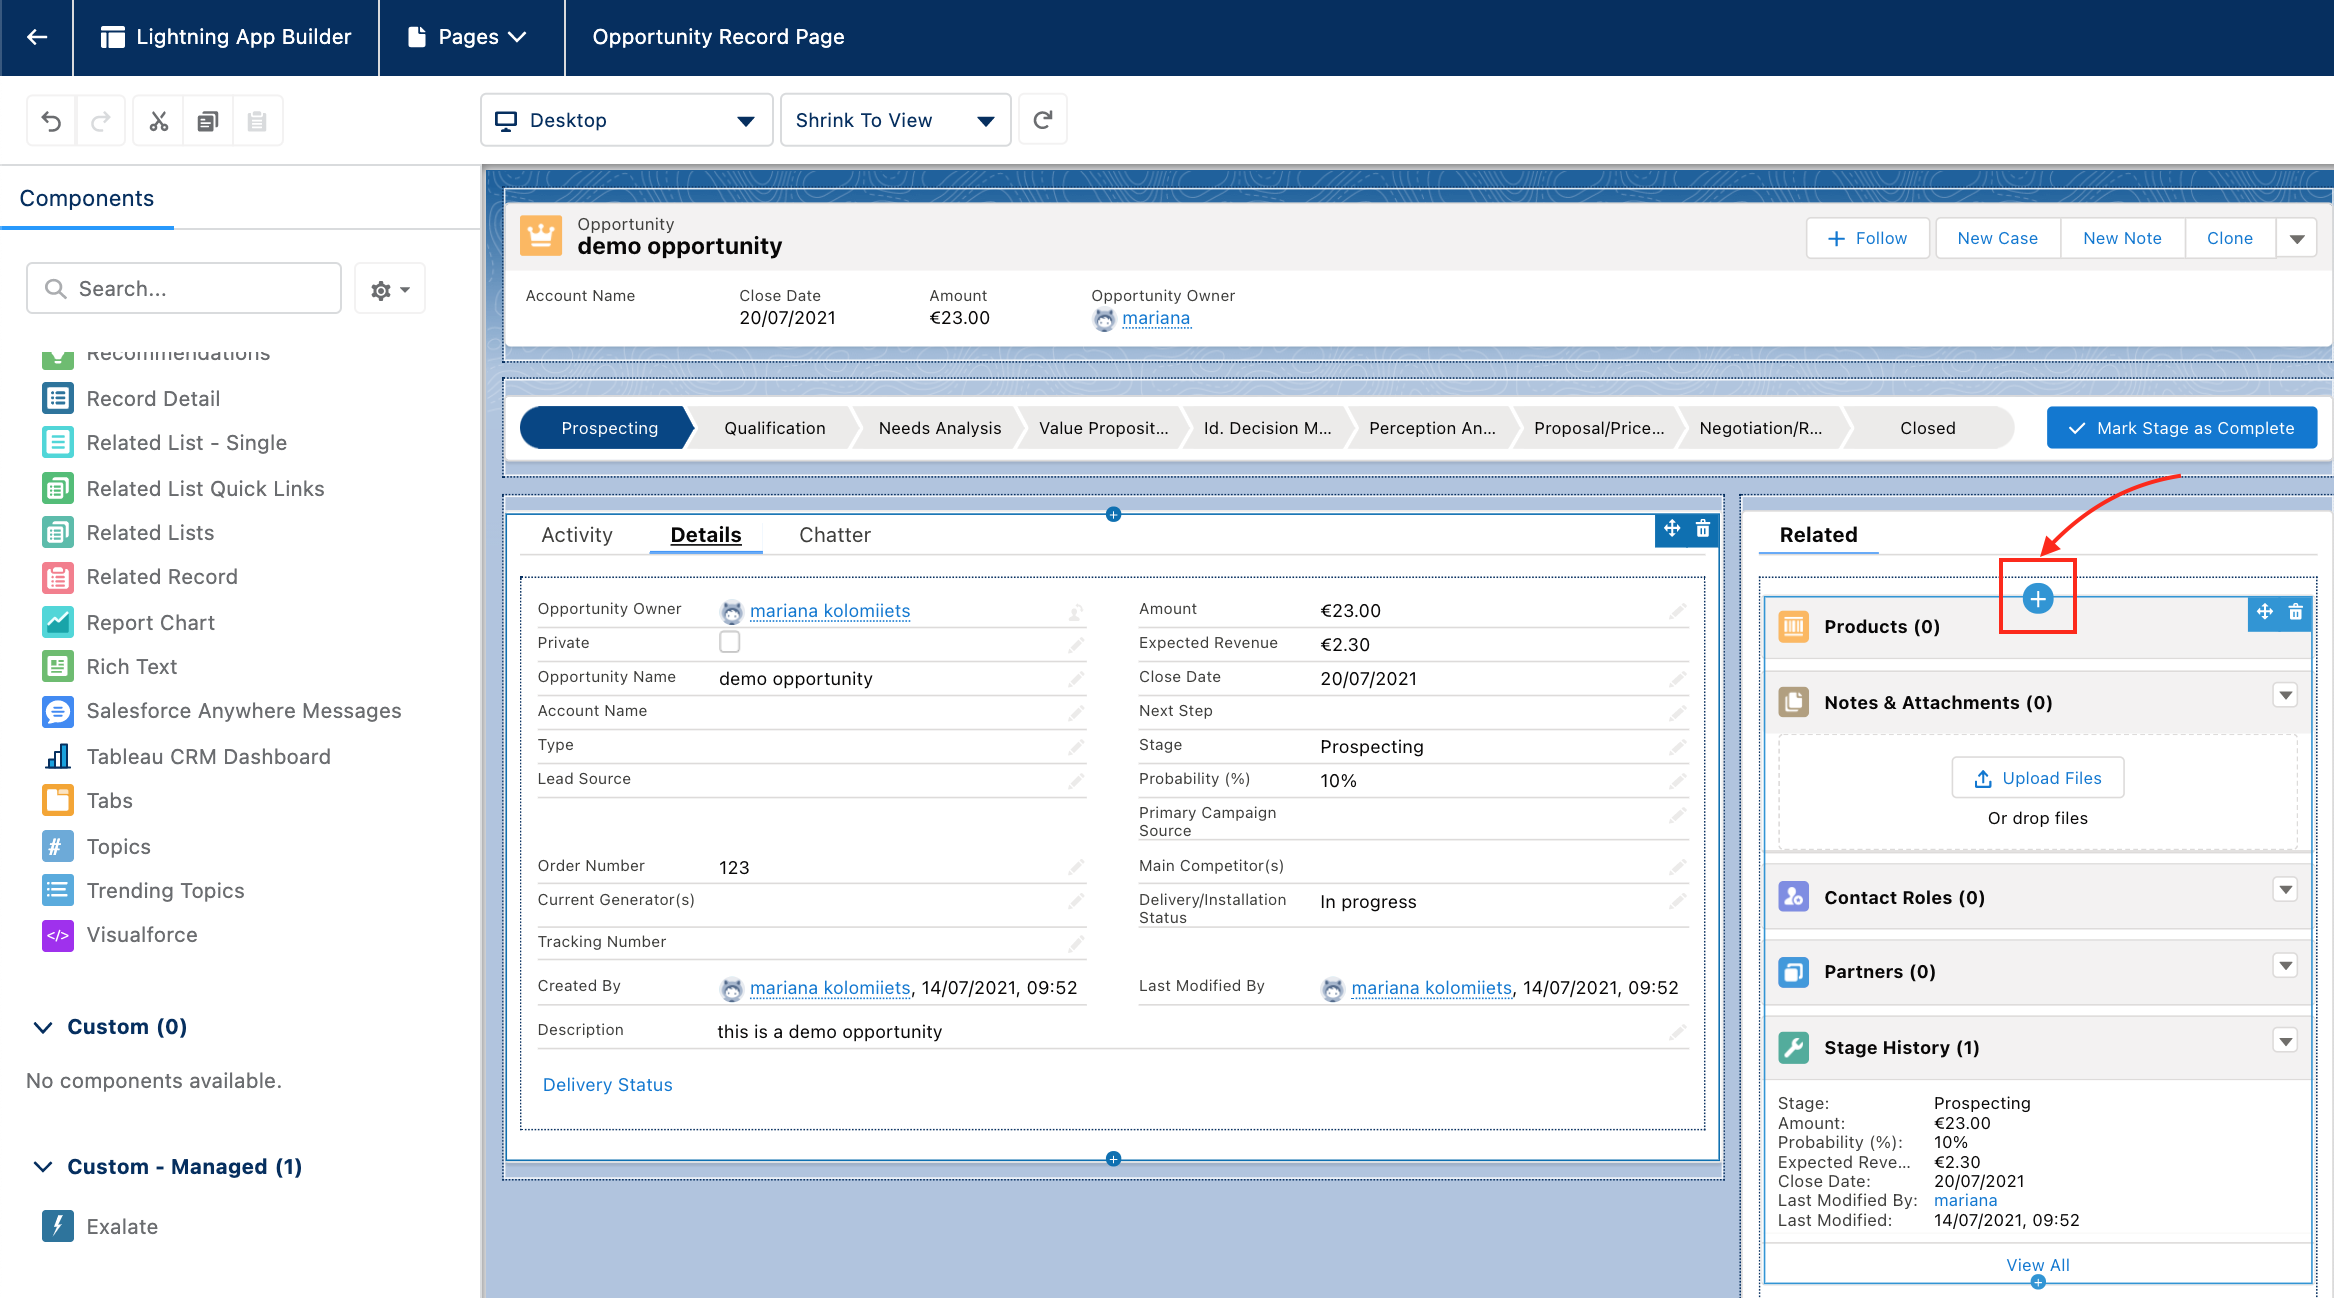
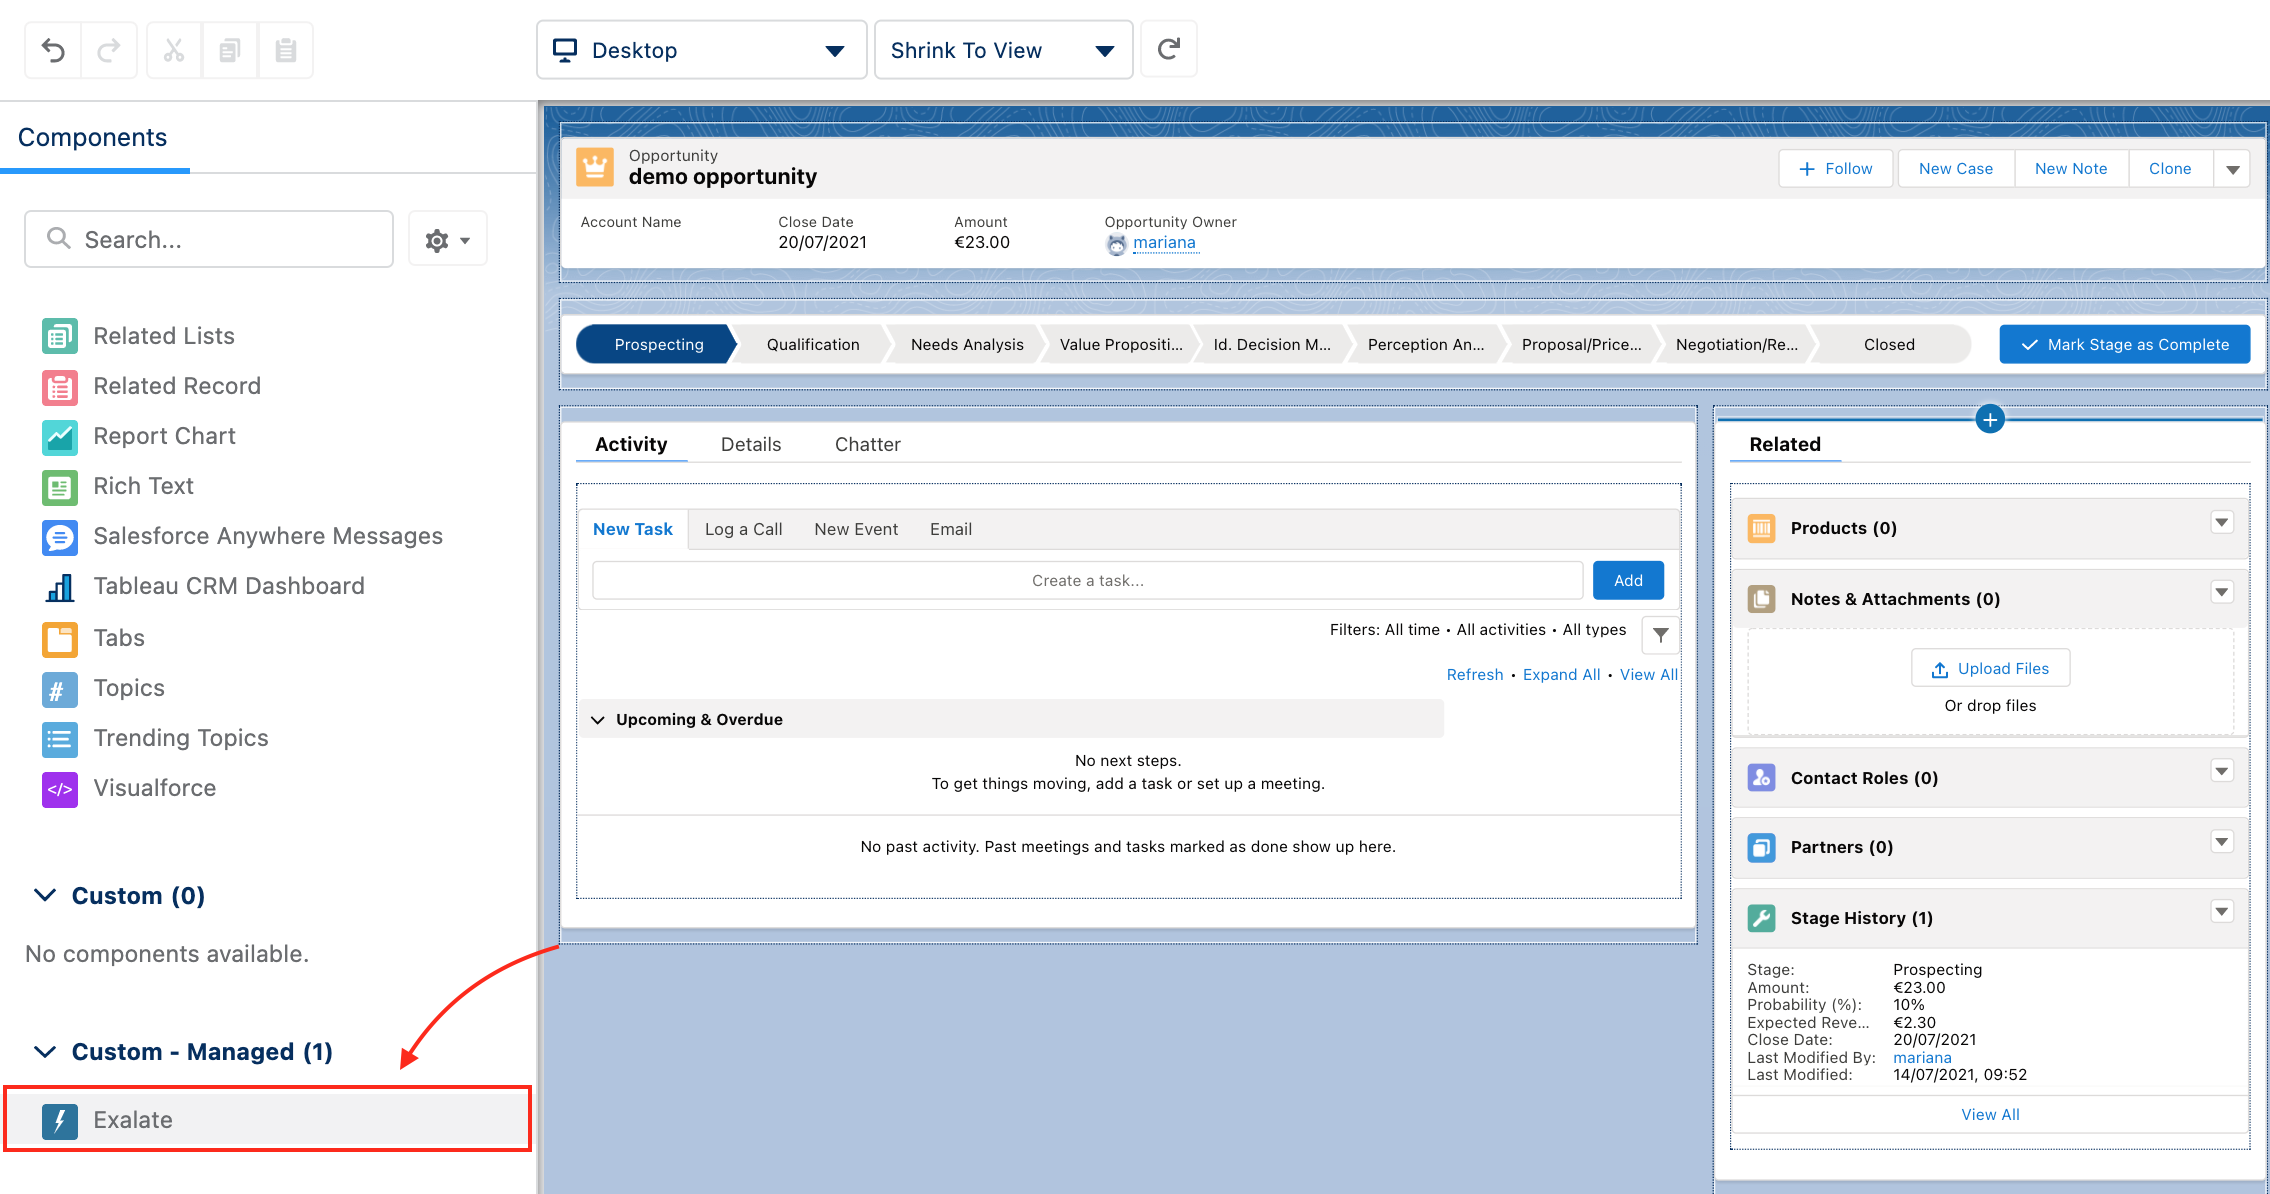
4. Select Exalate in Components -> Custom - Managed
You can also add Exalate to the page by simply dragging it from the left side panel to any required place in the builder area.
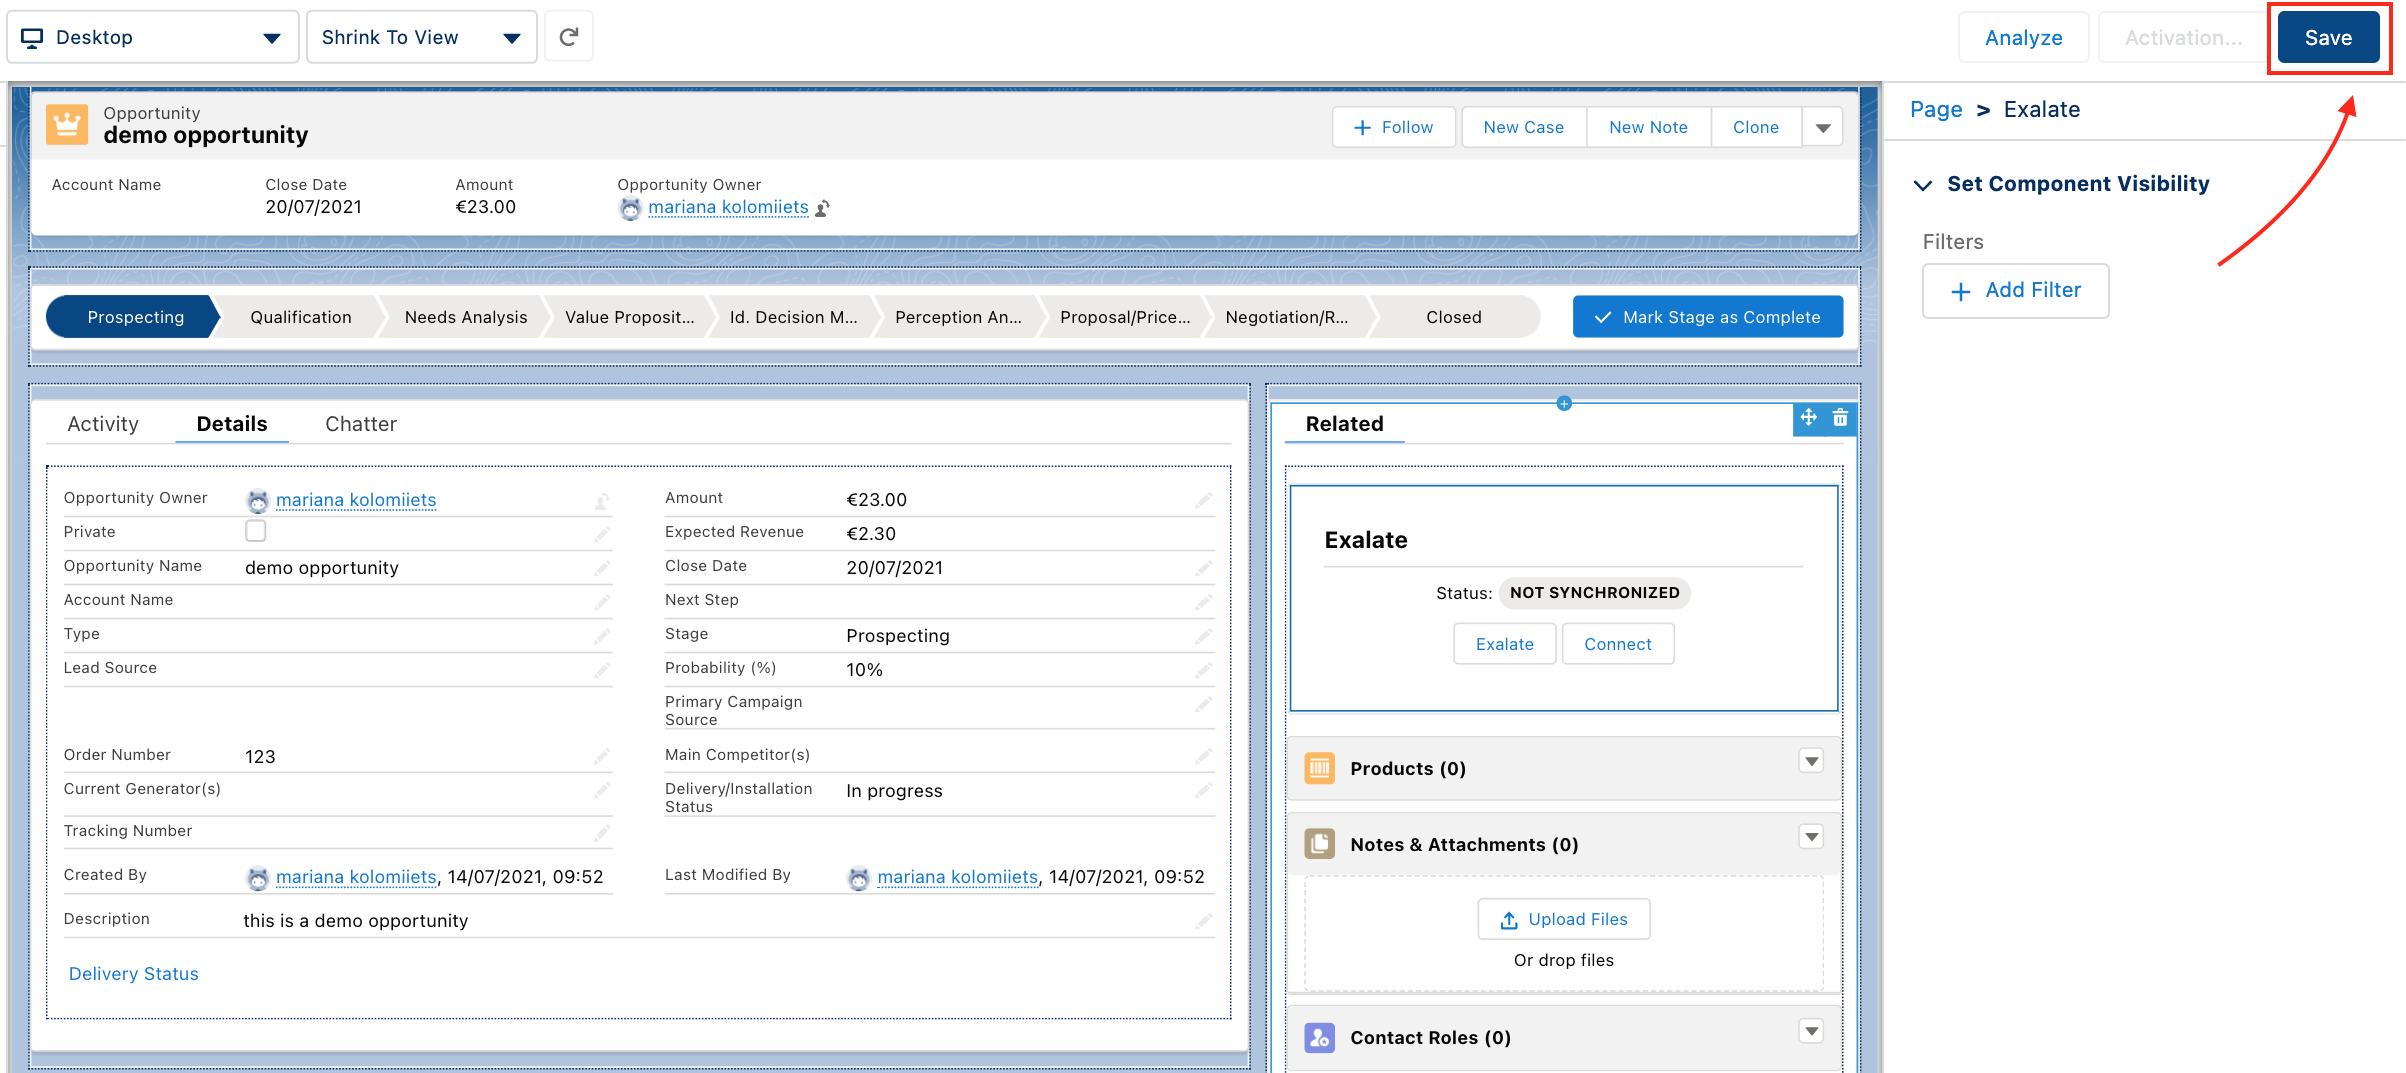
You can add different filters to the component, for example, to configure view permissions. It might be useful if the Exalate has been installed for Admins only. Check out How to configure Sync Panel viewing permissions using component filters.
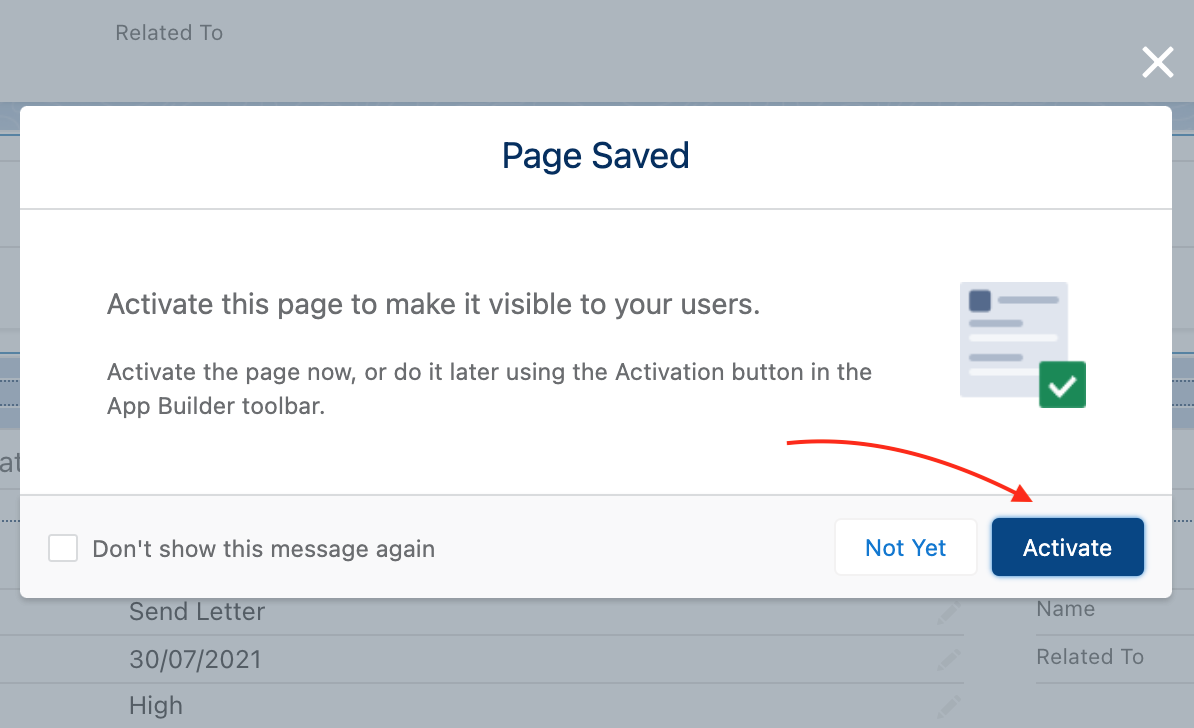
5. Click Save once the Exalate panel is in place
6. Click Activate to make the changes visible
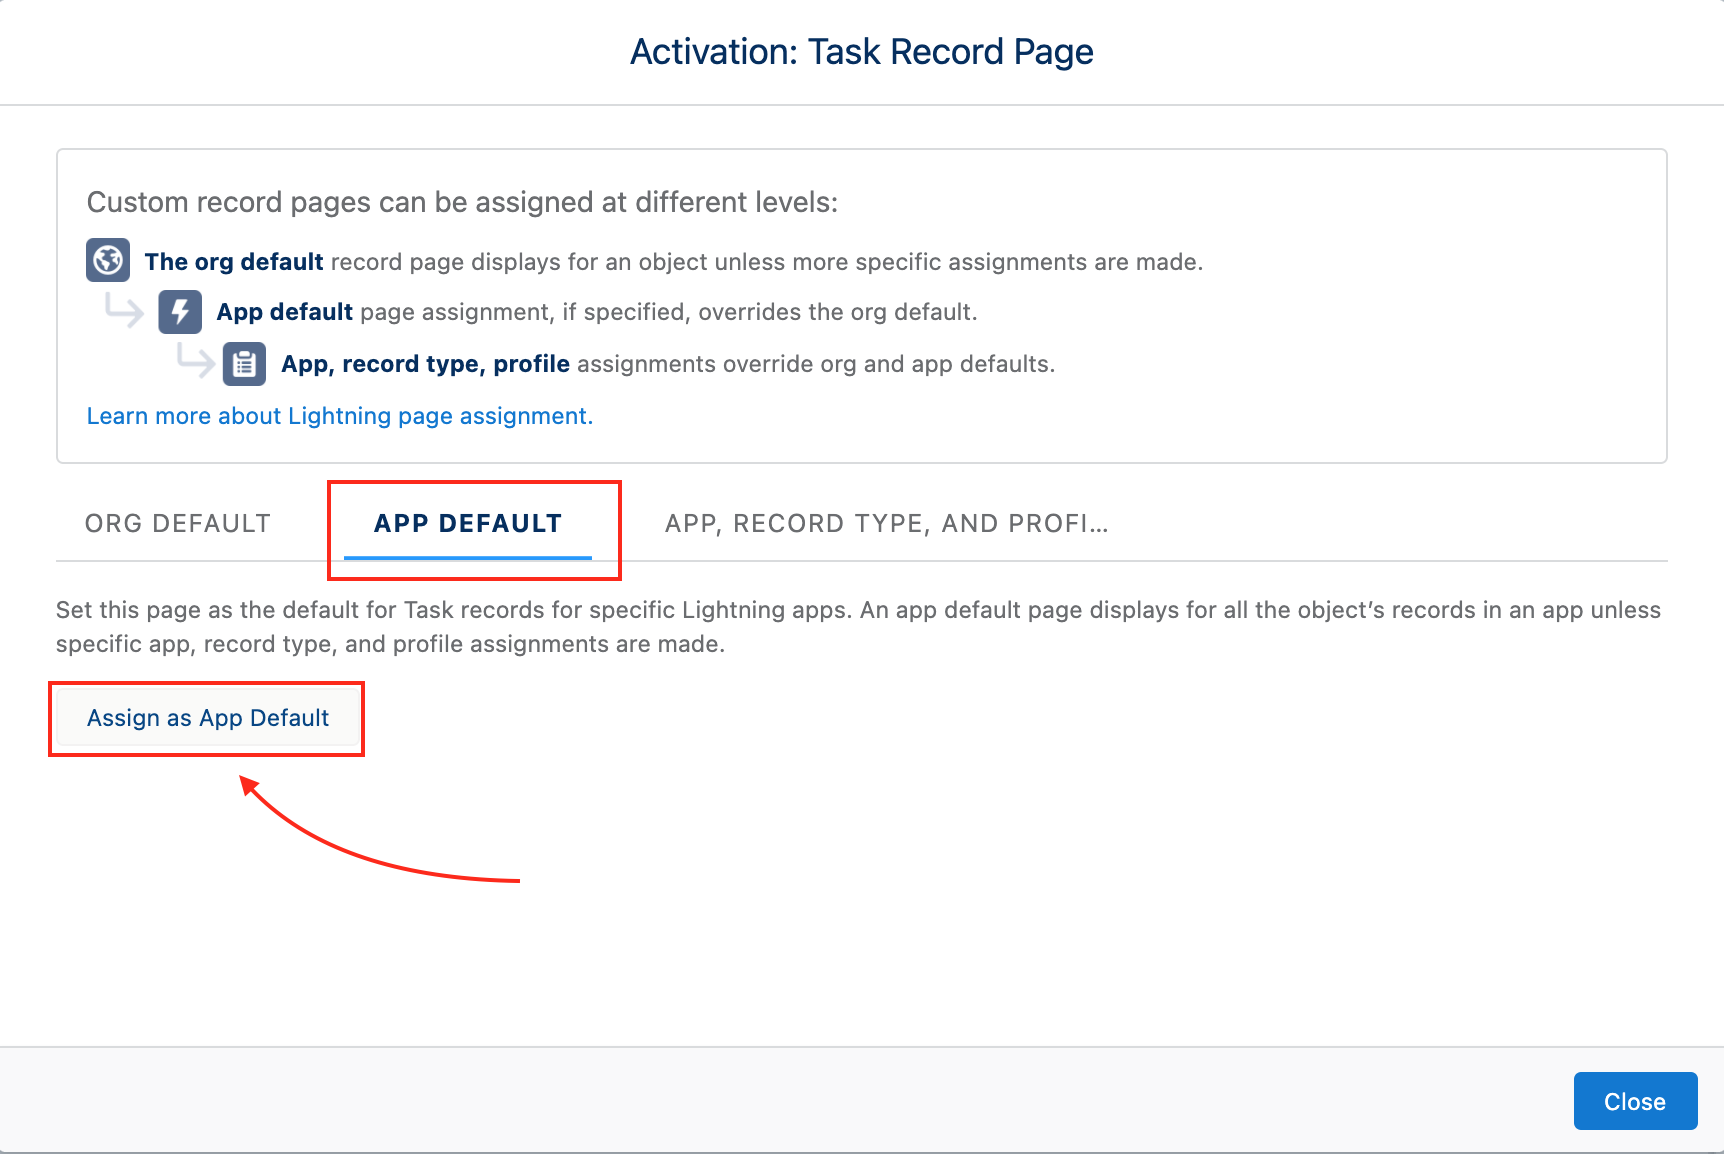
7. Select the App Default tab and click Assign as App Default
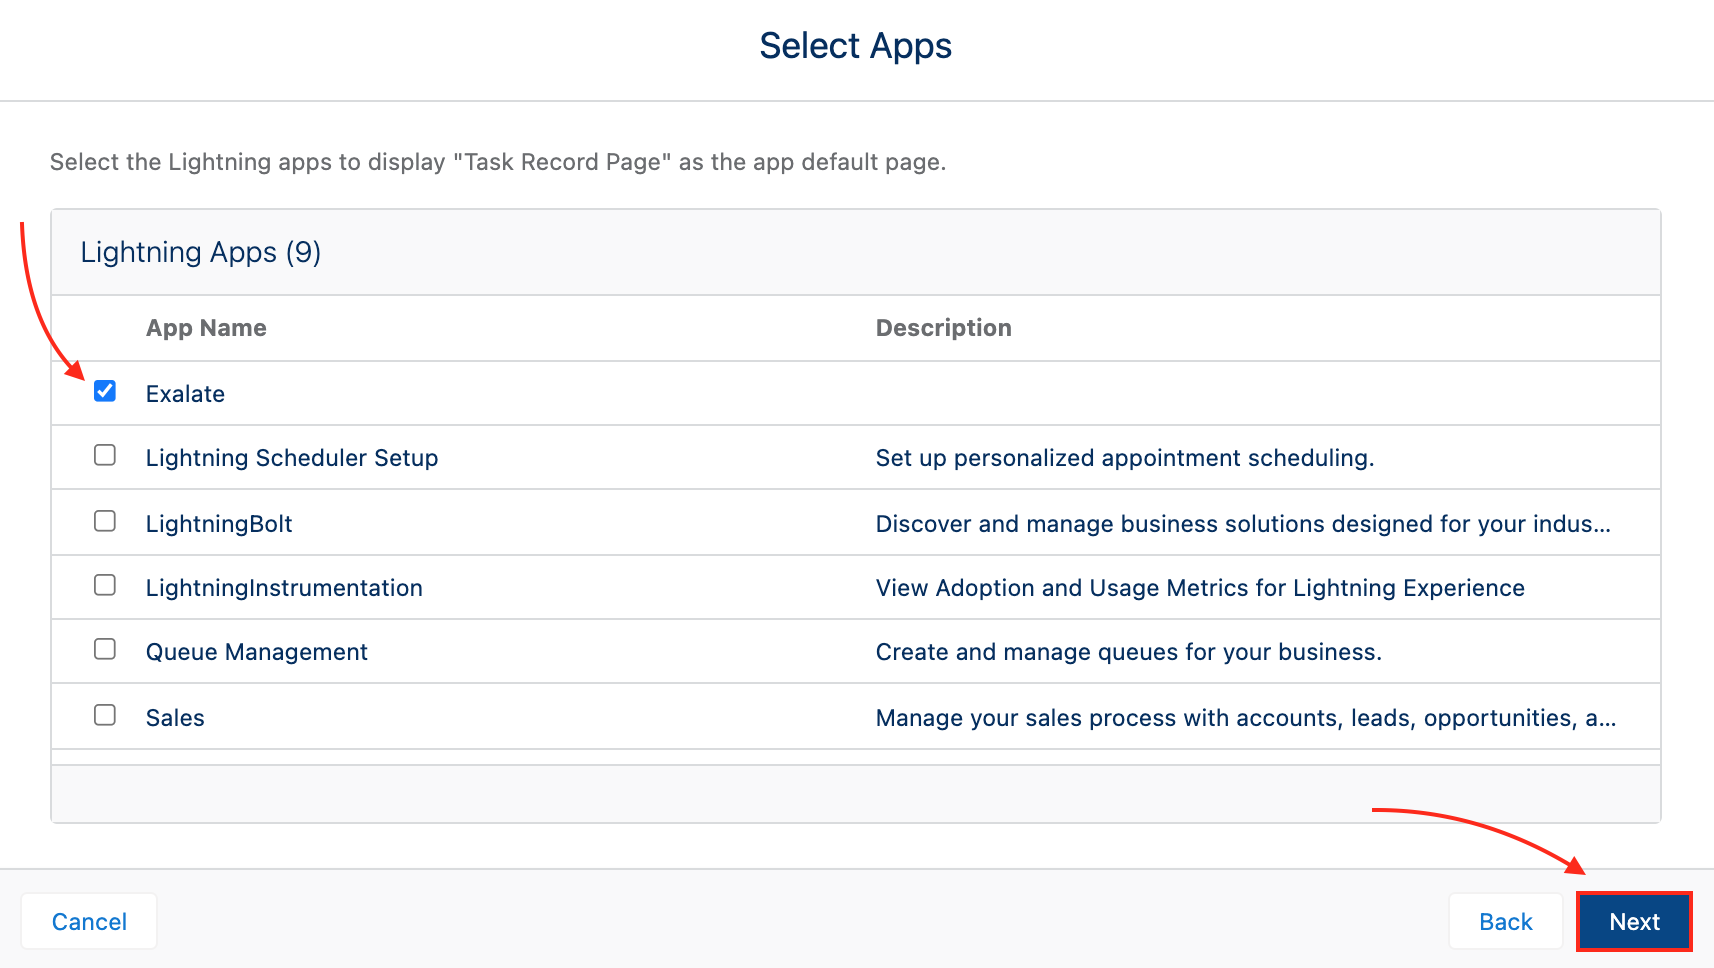
8. Select Exalate and click Next
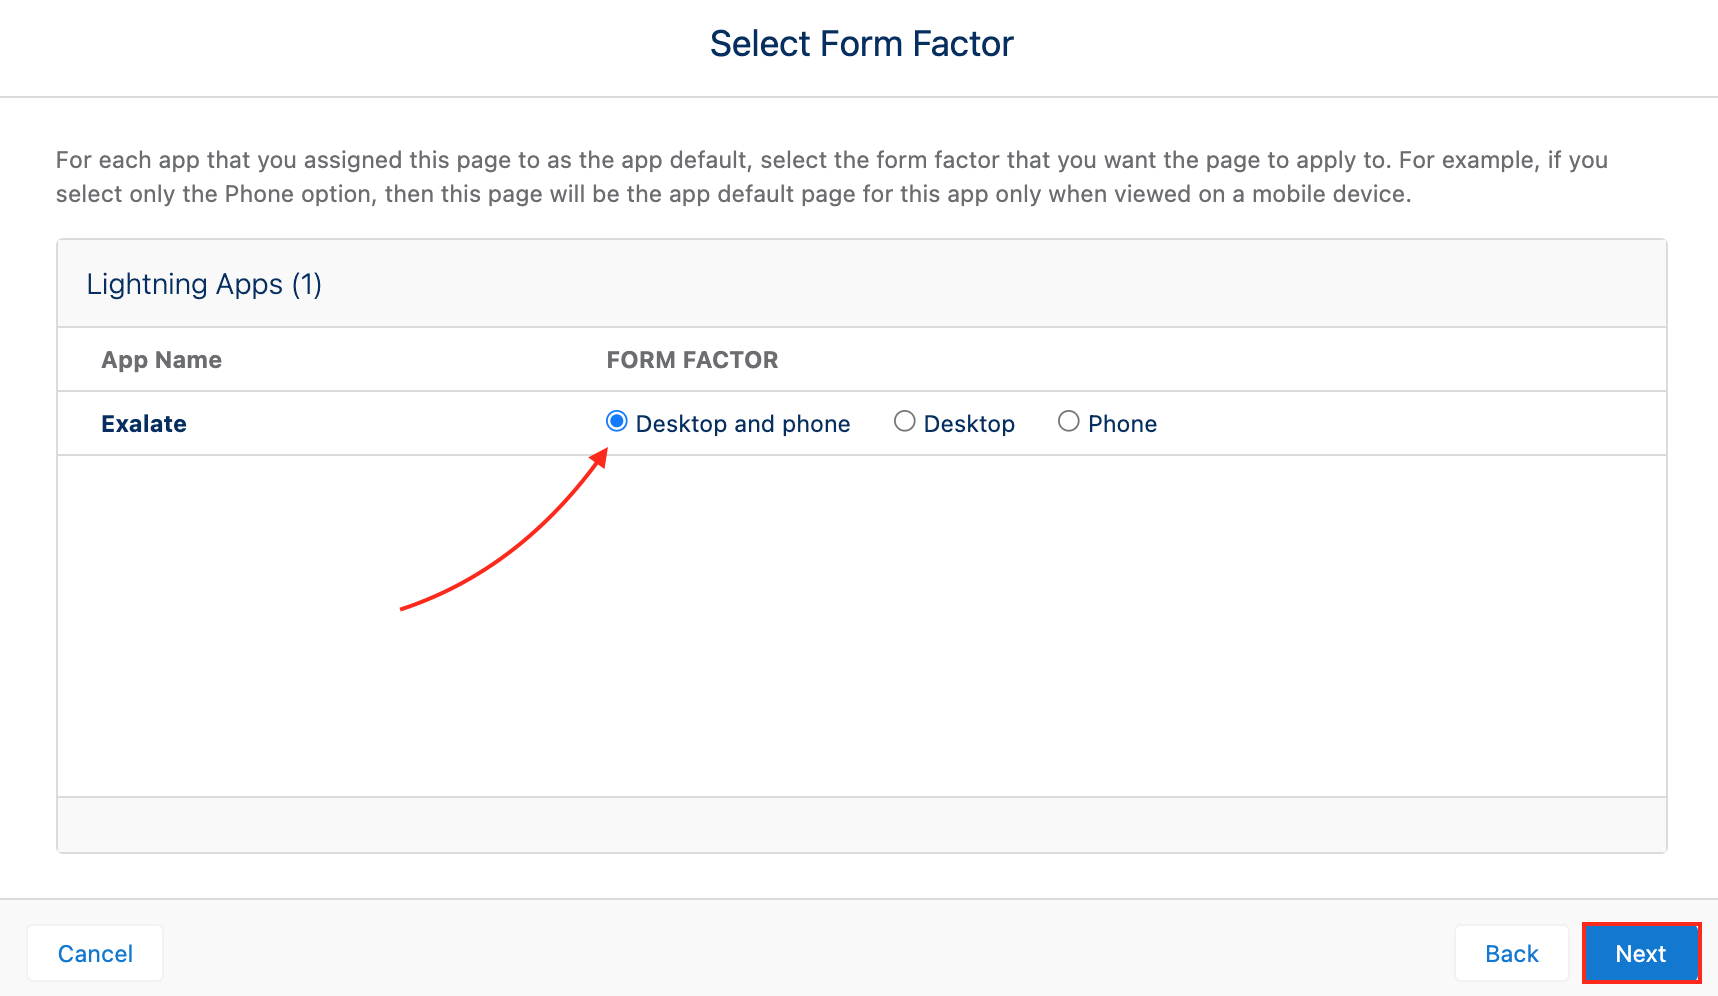
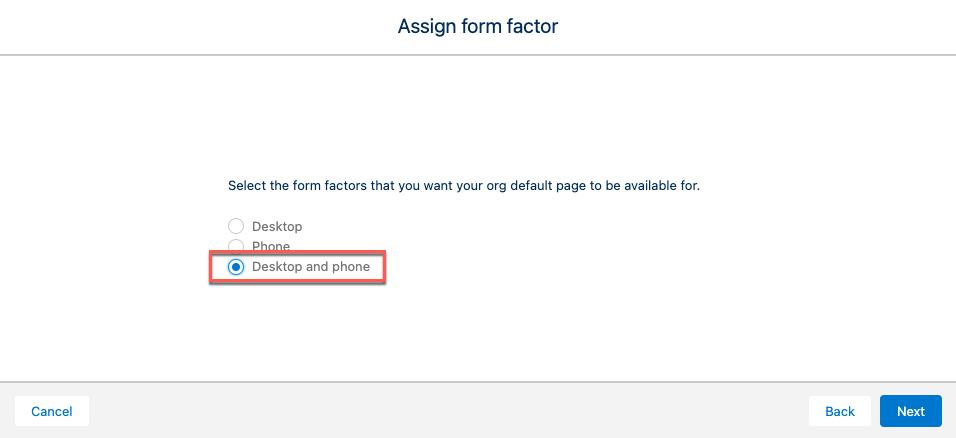
9. Select Desktop and phone and click Next
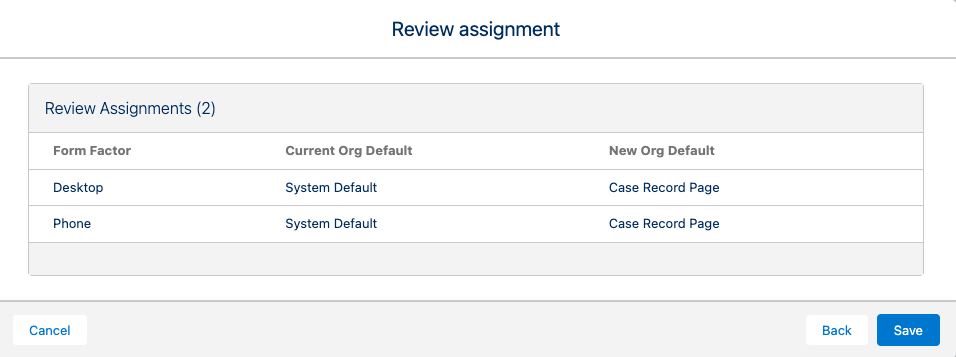
10. Review assignments and click Save
Congratulations. The Sync panel has been added to an object view.
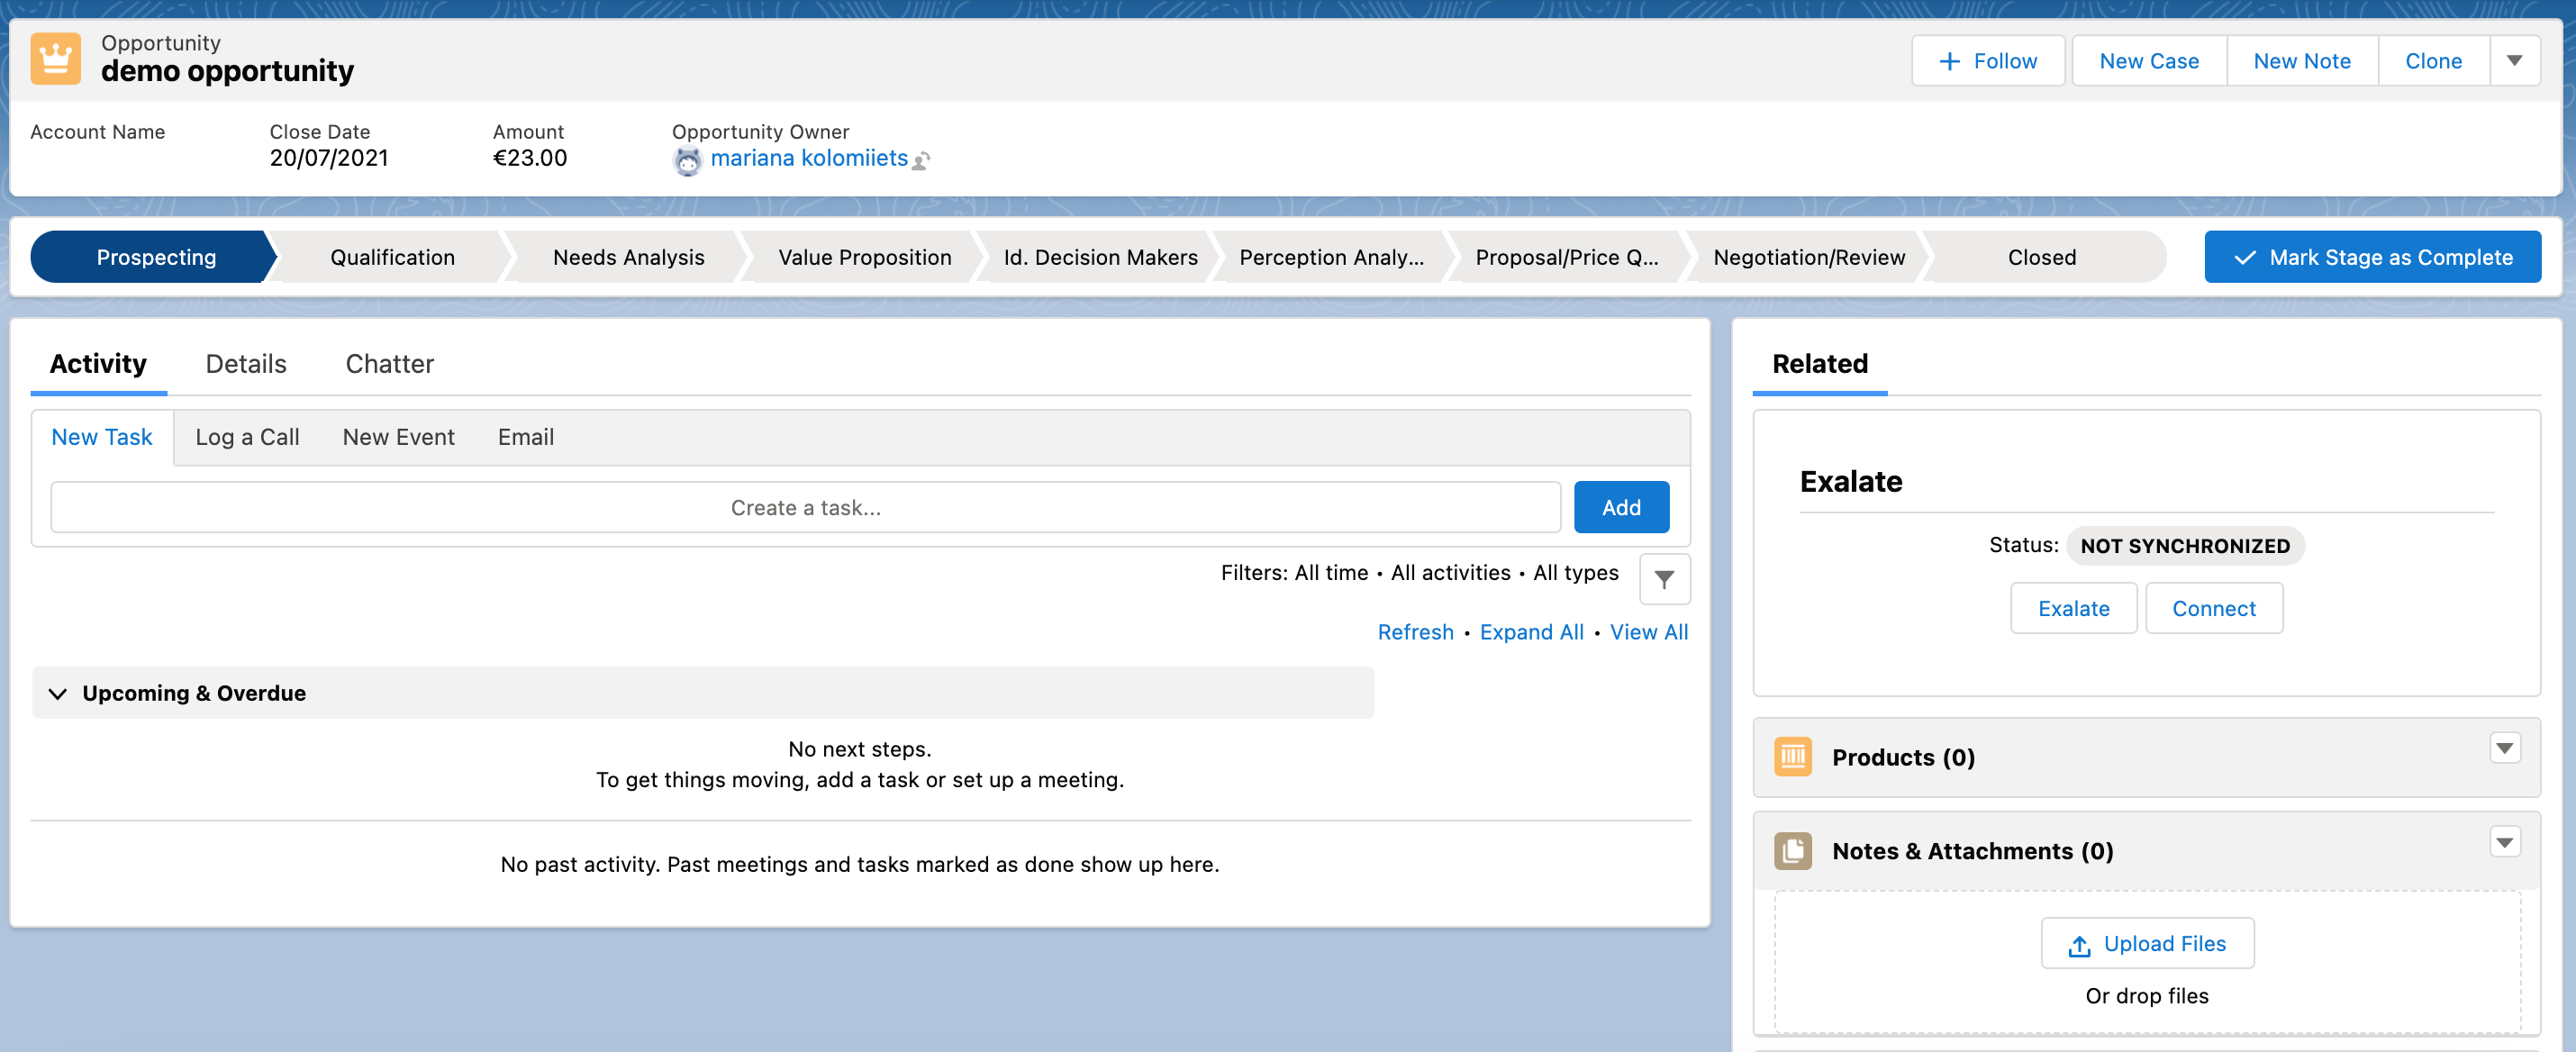
How to access the Sync Panel
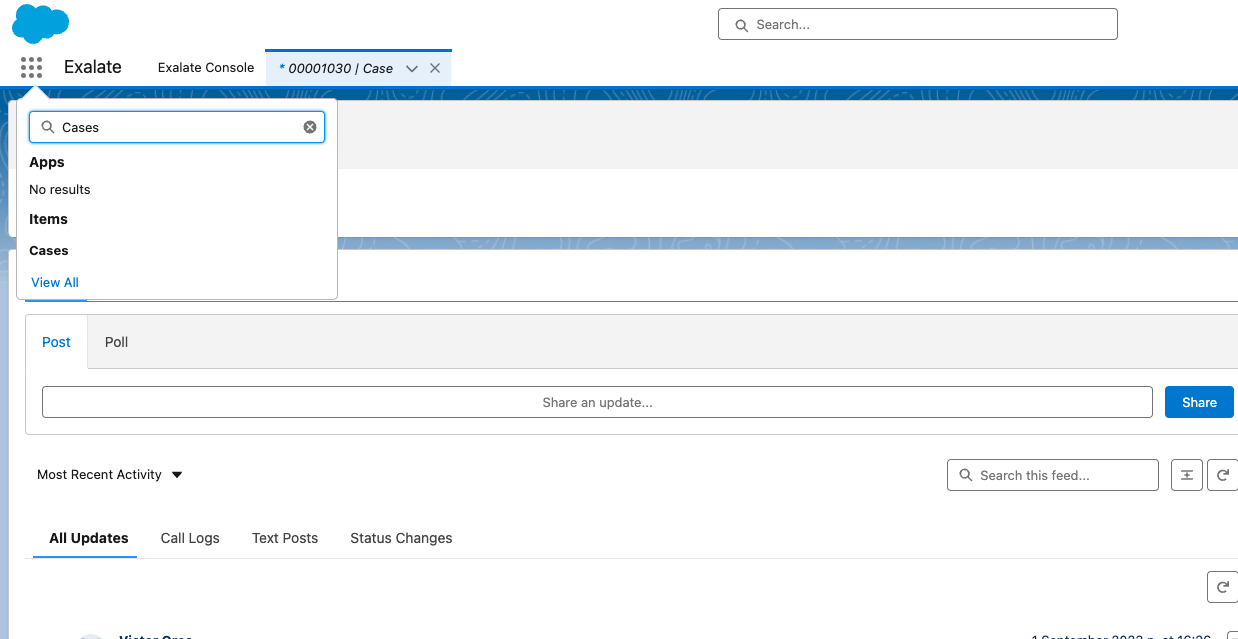
- Access the Exalate app from the search bar.
- Open Cases (can be any other entity for which Sync Panel is added).
- Select any case.

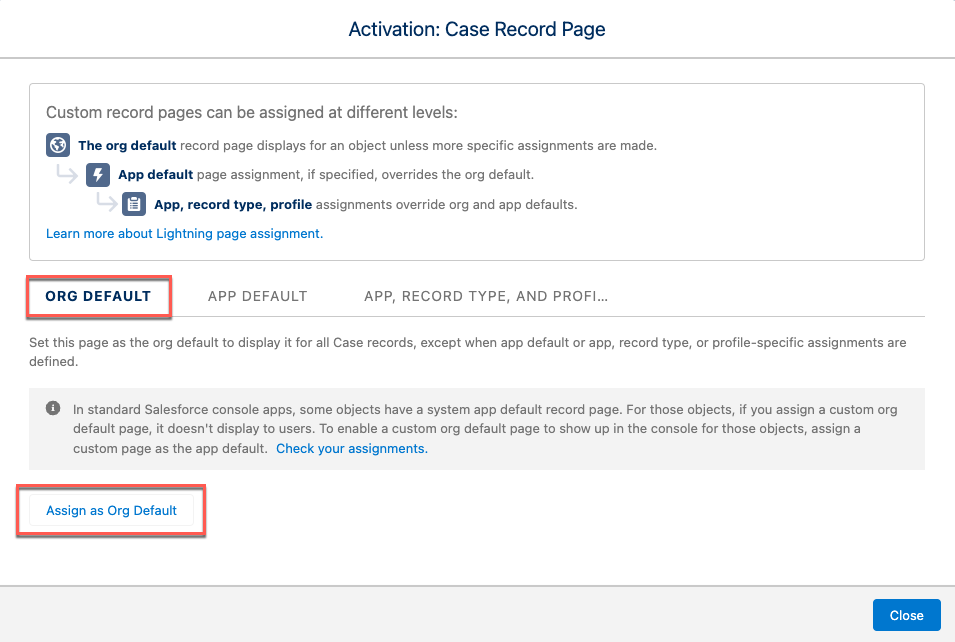
If you want to see the Sync Panel in any app, such as Services, or Sales:
- Select the Org Default tab and click Assign as Org Default:
- Select Desktop and Phone and click Next:

- Review the assignments and click Save:
Have more questions? Ask the community